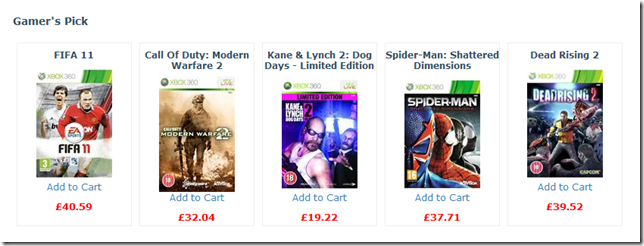
New in the latest release of Cart Viper is the Product Widget control.

This controls allows you to display products outside of the store pages within your portal. So for example you could display some items directly on the home page of your portal.
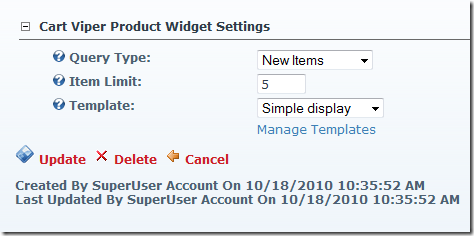
The module has three different methods of product selection
- Top Sellers – Automatically displays the best selling items in your store
- New Items – Automatically displays new items added within the last 30 days
- Featured – Displays the products which you mark as featured

Once you’ve got your selected products to display, we then use a site wide template library to display the items.
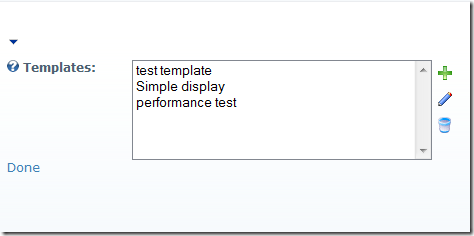
You can define and create your own custom templates for your portal, then share and use them for each instance of the Product Widget Module you add to page.

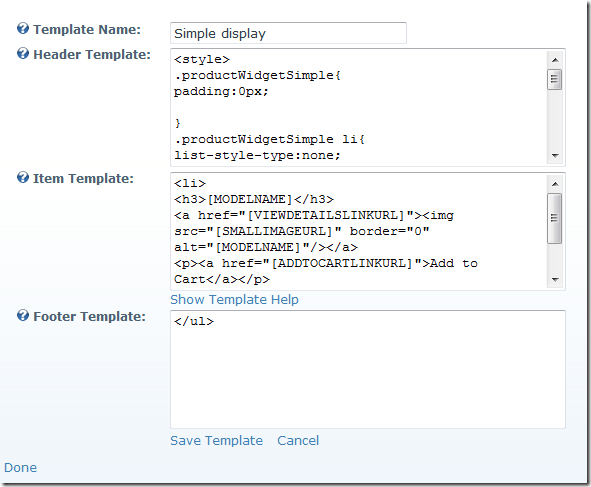
To get you started the module comes with a Simple display template you can use as the basis for your customisation.

The Item template is used to render each item into the HTML which is displayed. Within the template you can add tokens which are replaced with the data from the product. As standard we have over 30 properties for an item which we expose as tokens.
<li>
<h3>[MODELNAME]</h3>
<a href="[VIEWDETAILSLINKURL]"><img src="[SMALLIMAGEURL]" border="0" alt="[MODELNAME]"/></a>
<p><a href="[ADDTOCARTLINKURL]">Add to Cart</a></p>
<span class="pwsPrice">£[UNITPRICEINCTAX]</span>
</li>
The code snippet above shows the Simple Display’s Item Template, as you can see we are using the tokens to inject the data for the product into the html we display on the page.
Using some CSS and jQuery code you could create a very distinctive display of products anyway on your portal. Look out for a future blog post where we create a template using jQuery as an example.
471ffc4b-3d25-419d-bfea-41cbff2c0b4f|0|.0|27604f05-86ad-47ef-9e05-950bb762570c